Crafting Comfort: Your Ultimate Guide To DIY Chafing Cream
In today’s fast-paced world, comfort is key, especially when it comes to our skin. Chafing can be a painful and annoying issue, often caused by friction from clothing or skin-on-skin contact. Fortunately, with a little creativity and the right ingredients, you can create your own soothing solution right at home. DIY chafing cream not only helps prevent irritation but can also save you money compared to expensive store-bought alternatives. Let’s explore the benefits of making your own chafing cream and how to do it effectively.
The allure of DIY projects has taken the world by storm, and for good reason. By making your own chafing cream, you have complete control over the ingredients that go into your skin care product. This means you can avoid harsh chemicals and fragrances often found in commercial products, opting instead for natural ingredients that nourish and protect your skin. With a few simple steps, you can whip up a personalized blend that suits your skin type and lifestyle.
But what exactly goes into a DIY chafing cream? Understanding the ingredients and their properties can help you tailor your cream for maximum effectiveness. From nourishing oils to protective waxes, each component plays a vital role in ensuring your skin remains chafe-free and comfortable. So let’s dive deeper into the world of DIY chafing cream and discover how you can create your own soothing balm.
What Ingredients Do You Need for DIY Chafing Cream?
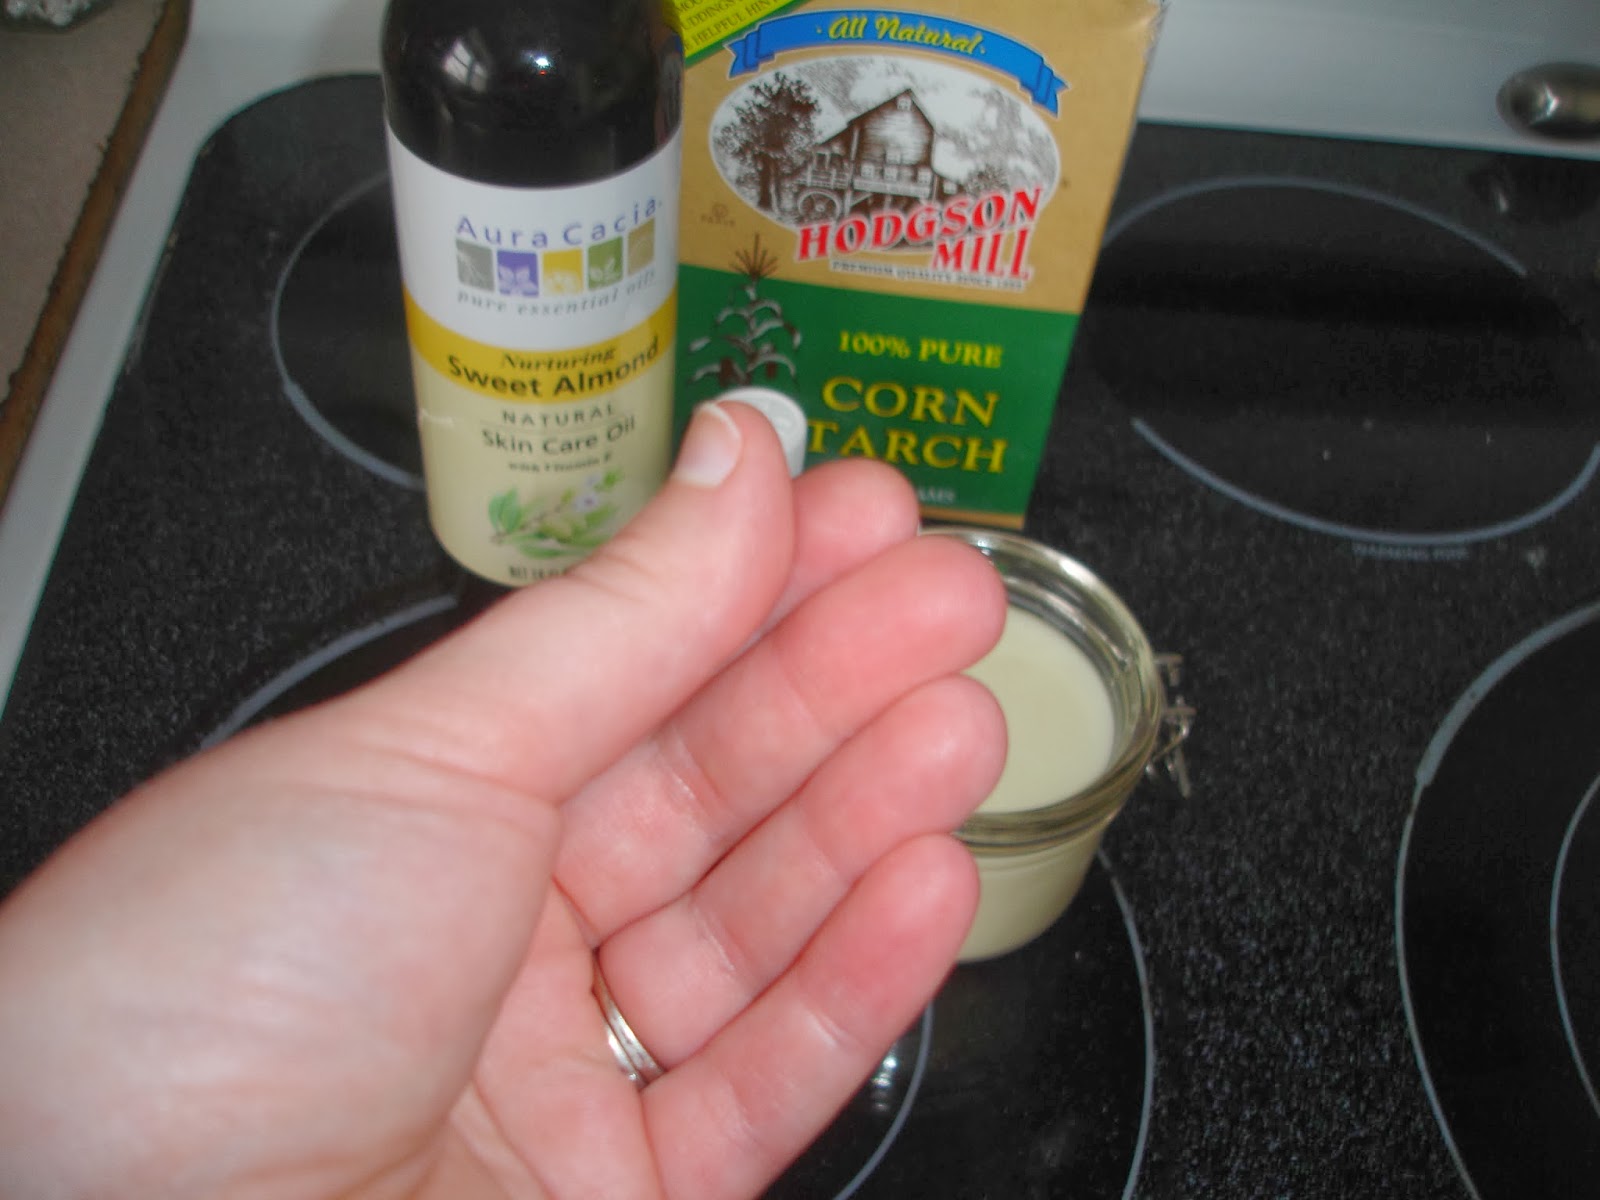
Creating your own chafing cream requires just a few key ingredients. Here’s a quick list of what you’ll need:
- 1 cup of coconut oil
- 1/2 cup of shea butter
- 1/4 cup of beeswax
- Essential oils (optional, for fragrance)
- Vitamin E oil (for extra nourishment)
How Do You Make DIY Chafing Cream?
Once you have gathered your ingredients, follow these simple steps to make your own chafing cream:
- In a double boiler, combine the coconut oil, shea butter, and beeswax.
- Heat the mixture gently, stirring occasionally until everything is melted and well combined.
- Remove from heat and allow to cool slightly before adding any essential oils and vitamin E oil.
- Pour the mixture into a clean jar or container and let it cool completely before sealing.
- Your DIY chafing cream is ready to use! Apply it to areas prone to chafing as needed.
Why Should You Choose DIY Chafing Cream Over Store-Bought Options?
While store-bought chafing creams can be convenient, there are several reasons why making your own is a better choice. Some of the advantages include:
- Control over ingredients: You can choose natural and organic materials that are safe for your skin.
- Cost-effective: Making your own chafing cream can save you money in the long run.
- Customization: Tailor the consistency and scent to your personal preferences.
- Eco-friendly: Reduce packaging waste by using reusable containers.
Can DIY Chafing Cream Help with Other Skin Issues?
Yes! The ingredients used in your DIY chafing cream can also provide relief for various skin issues, such as:
- Dry skin: Coconut oil and shea butter are excellent moisturizers.
- Eczema: The soothing properties of these natural ingredients can help calm flare-ups.
- Sunburn: A cooling application can provide relief to sunburned skin.
How Long Does DIY Chafing Cream Last?
When stored properly in a cool, dry place, your DIY chafing cream can last for up to six months. Make sure to use clean utensils when scooping out the cream to prevent contamination, and always check for any changes in smell or texture before use.
What Are Some Tips for Using DIY Chafing Cream Effectively?
To get the most out of your DIY chafing cream, consider these helpful tips:
- Apply it to clean, dry skin before engaging in activities that may cause chafing.
- Reapply as needed, especially during hot and humid weather.
- Keep a small container with you for on-the-go convenience.
Where Can You Find the Best Recipes for DIY Chafing Cream?
The internet is filled with countless recipes and tutorials for making DIY chafing cream. Popular platforms like Pinterest or wellness blogs often feature unique variations that you can try. Experimentation is key, so don’t hesitate to adjust the recipe to find the perfect blend for your needs.
Can You Personalize Your DIY Chafing Cream?
Absolutely! Personalization is one of the best aspects of making your own chafing cream. You can modify the ingredients based on your skin type or add your favorite essential oils for a unique scent. Whether you prefer a thicker consistency or a lighter formula, the choice is yours!
Conclusion: Embrace the Comfort of DIY Chafing Cream
Making your own DIY chafing cream is a simple and rewarding process that allows you to take control of your skin care routine. By using natural ingredients, you can create a product that not only prevents chafing but also nourishes your skin. So why wait? Start your DIY journey today and embrace the comfort that comes with your very own chafing cream!
```
Do Dogs Perceive The Colors On Bluey?
Unveiling The Life Of Alan Faneca's Wife: A Journey Of Love And Support
Unveiling The Allure: The Story Of Lil Kim's Butt


